GASでスプレッドシートのセルに画像を挿入する完全ガイド 〜ついでにドキュメントにも挿入しよう〜


GASでスプレッドシートのセルに画像を挿入する方法
まず、スプレッドシートの特定のセルの位置に画像を挿入してみるぞ。
function insertImageInCell() {
  const sheet = SpreadsheetApp.getActiveSpreadsheet().getActiveSheet();
  const url = "https://example.com/image.jpg";
  const blob = UrlFetchApp.fetch(url).getBlob();
  sheet.insertImage(blob, 2, 2); // B2セルに挿入
}
URLから画像を取得してセルに挿入するコードだ。
SpreadsheetApp.getActiveSpreadsheet().getActiveSheet()でアクティブなスプレッドシートのシートを取得する。
画像のURLを指定し、UrlFetchApp.fetch()でその画像を取得する。
insertImageメソッドを用いて、指定したセル(B2)の位置に画像を挿入する。
たとえば、次のコードを見てくれ。GAS専門プログラミングスクール「earthpg」のロゴを試しに挿入できる。
function insertImageInCell() {
  const sheet = SpreadsheetApp.getActiveSpreadsheet().getActiveSheet();
  const url = "https://earthpg.school/wp-content/themes/earthpg-theme/images/logo_2.png";
  const blob = UrlFetchApp.fetch(url).getBlob();

  // B2セル位置(列=2, 行=2)に貼り付け
  sheet.insertImage(blob, 2, 2);
}
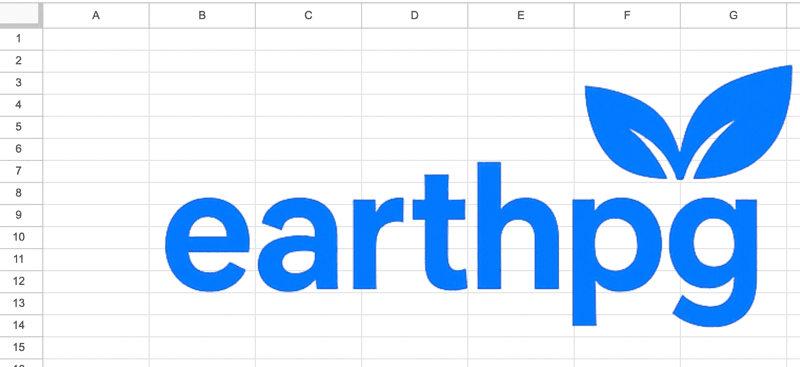
これを実行すると、こんな感じになるはずだ。

えっ、画像がデカすぎてはみ出てる??
たしかに、もはやG列まで到達してるからな。
もしセル内にピッタンコで挿入したいなら、次のコードを試そう。
function insertImageInCellFormula() {
  const sheet = SpreadsheetApp.getActiveSpreadsheet().getActiveSheet();
  const url = "https://earthpg.school/wp-content/themes/earthpg-theme/images/logo_2.png";
  // B2セルにセル内画像として挿入
  sheet.getRange("B2").setFormula(`=IMAGE("${url}")`);
}
setFormulaメソッドを使って、スプレッドシートのIMAGE関数で挿入さ。
これでセルの枠内に自動調整されて表示されるはずだ。


GASでドライブからスプレッドシートに画像を挿入する方法
Googleドライブに保存した画像をGASを用いてスプレッドシートに挿入しよう。
ドライブ内の画像を特定するには、ファイルIDを使うとよい。
function insertImageFromDrive() {
  const sheet = SpreadsheetApp.getActiveSpreadsheet().getActiveSheet();
  const fileId = "your-file-id-here";
  const file = DriveApp.getFileById(fileId);
  const blob = file.getBlob();
  sheet.insertImage(blob, 3, 3); // C3セルに挿入
}
DriveApp.getFileById()は特定のファイルをファイルIDで取得するメソッドだ。
取得したファイルからBlobを得て、insertImageを用いてスプレッドシートに挿入する。


GASでスプレッドシートにHTML出力で画像を挿入する方法
GASを使ってHTML出力に画像を取り込むこともできる。
HTMLサービスを使って画像を埋め込むコードだ。
function showImageInHtml() {
  const url = "https://earthpg.school/wp-content/themes/earthpg-theme/images/logo_2.png";
  const html = `
    <div style="text-align:center; padding:20px;">
      <img src="${url}" style="max-width:100%; height:auto;" />
    </div>
  `;

  const userInterface = HtmlService.createHtmlOutput(html)
    .setWidth(400)
    .setHeight(300);

  SpreadsheetApp.getUi().showModelessDialog(userInterface, "Image Display");
}
HtmlService.createHtmlOutput() でHTML出力を作成する。
imgタグを使いsrc属性に画像URLをセットすることで表示させる。
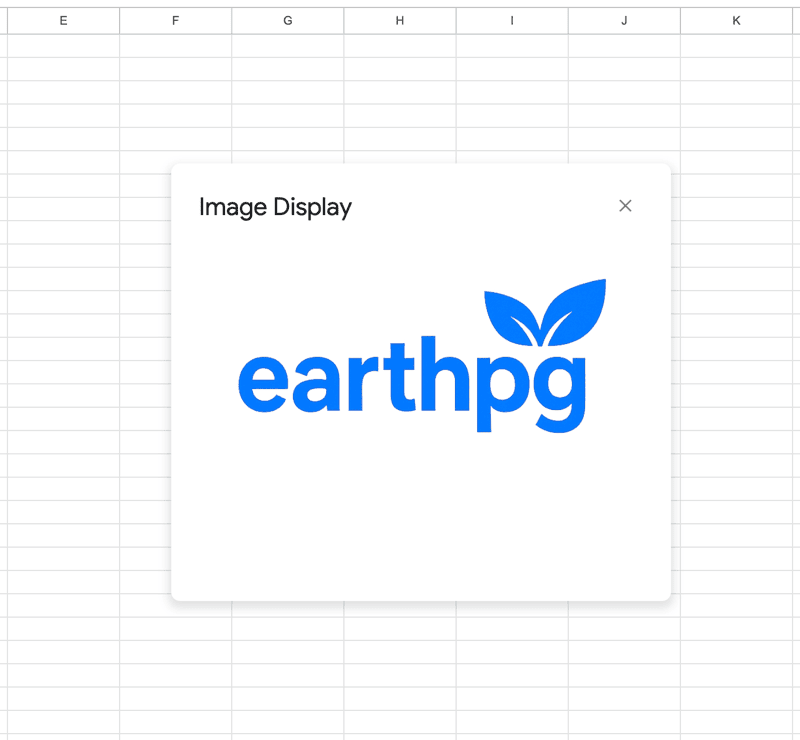
スプレッドシートの画面の中央にポップアップ表示されるはずだ。

番外編:GASでGoogleドキュメントに画像を挿入する方法
スプレッドシートはオッケーだな。
せっかくだから、Googleドキュメントに画像を挿入するケースもマスターしておこうぜ。
function insertImageInDocument() {
  const doc = DocumentApp.openById("your-document-id-here");
  const body = doc.getBody();
  const url = "https://earthpg.school/wp-content/themes/earthpg-theme/images/logo_2.png";
  const blob = UrlFetchApp.fetch(url).getBlob();
  body.appendImage(blob);
}
DocumentApp.openById() でGoogleドキュメントを開き、getBody() でドキュメントのボディを取得する。
取得したBlobを用いて、appendImageメソッドでボディ末尾に画像を追加する。
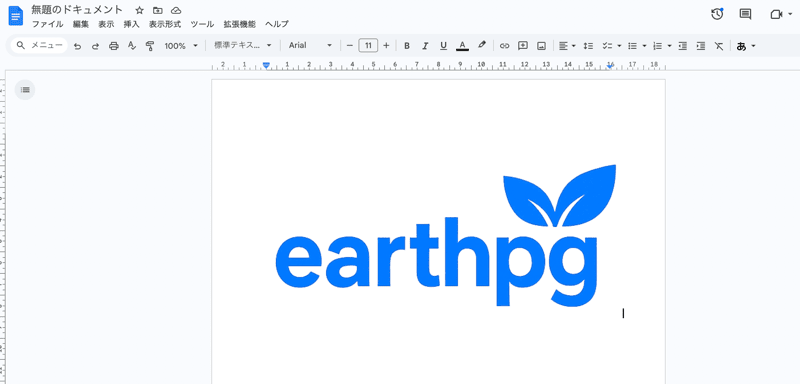
これを実行すると、こんな感じになるはずだ。


練習問題
- Googleドライブに保存された画像をスプレッドシートのA1セルの位置に挿入するコードを書いてみよう。
- 既存のGoogleドキュメントに画像を指定したURLから挿入する方法を試してみよう。
解答・解説
function insertImageInSpreadsheet() {
  const sheet = SpreadsheetApp.getActiveSpreadsheet().getActiveSheet();
  const fileId = "your-file-id-here"; // ファイルIDを正しく設定
  const file = DriveApp.getFileById(fileId);
  const blob = file.getBlob();
  sheet.insertImage(blob, 1, 1); // A1セルに挿入
}
DriveApp.getFileById(fileId)でファイルを取得し、getBlob()を使ってその画像のBlobを取得する。
insertImageメソッドは指定したセルにBlobを挿入するために使用される。
function appendImageToDocument() {
  const doc = DocumentApp.openById("your-document-id-here"); // ドキュメントIDを正しく設定
  const body = doc.getBody();
  const url = "https://example.com/image.jpg";
  const blob = UrlFetchApp.fetch(url).getBlob();
  body.appendImage(blob);
}
DocumentApp.openById("your-document-id-here")を使用して、ドキュメントを開く。
appendImageメソッドを使ってドキュメント内に画像を挿入する。

